Quick Start Guide
Get Hydranaut running in under 10 minutes by following this workflow.
Prerequisites
- Active Hydranaut account (SaaS)
- At least one microservice or API to monitor
- Service health endpoint URL
Setup Workflow
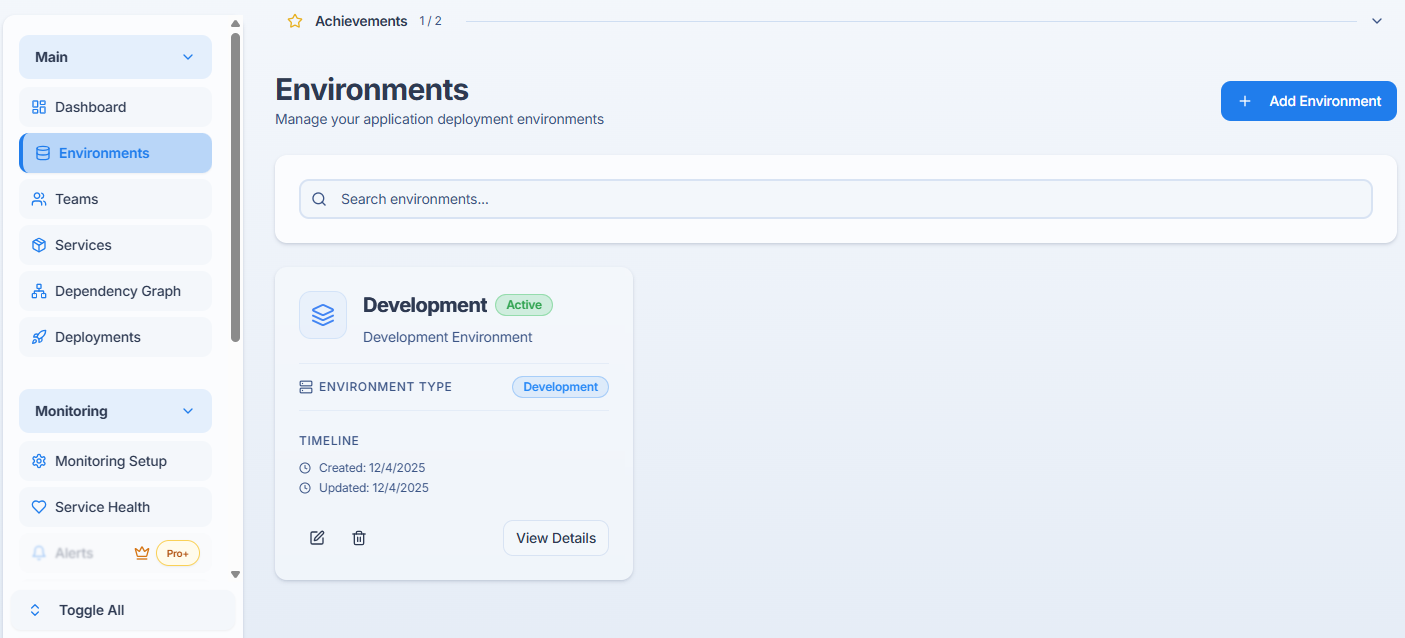
Step 1: Create Your First Environment
Environments organize your services (e.g., production, staging, development).
- Log in to Hydranaut dashboard
- Navigate to Environments → Create New
- Enter environment name (e.g., "Production")
- Click Save
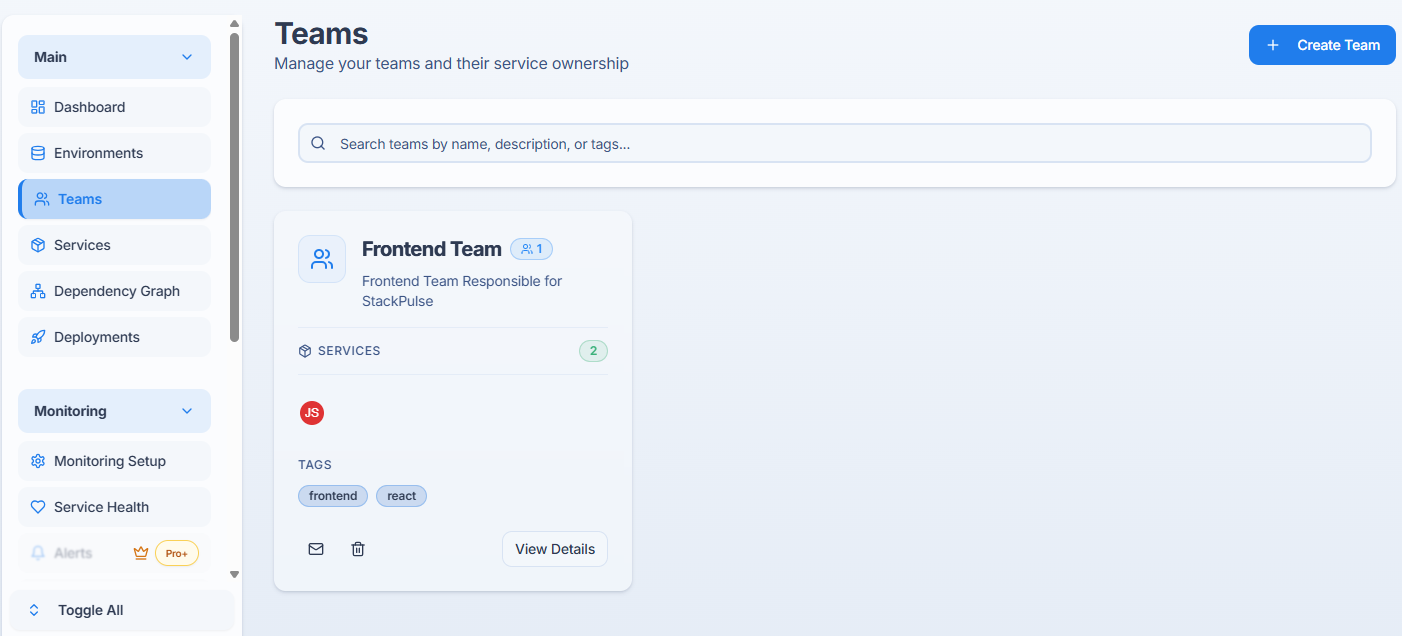
Step 2: Create a Team
Teams group users and control access to environments and services.
- Go to Teams → Create Team
- Enter team name (e.g., "Backend Team")
- Assign environment access
- Click Create
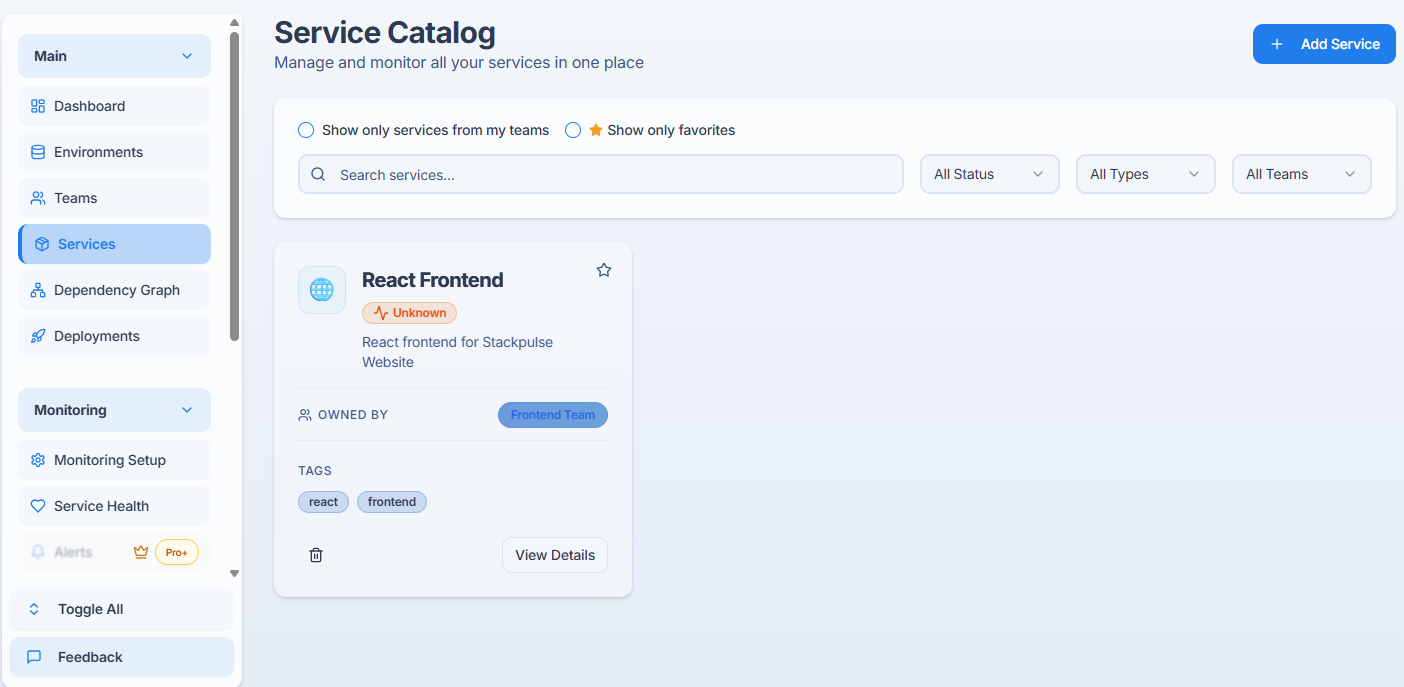
Step 3: Add Your First Service
- Navigate to Services → Add Service
- Fill in required fields:
- Service Name: e.g., "User API"
- Health Endpoint: e.g.,
https://api.example.com/health - Environment: Select from dropdown
- Team: Assign owning team
- Click Add Service
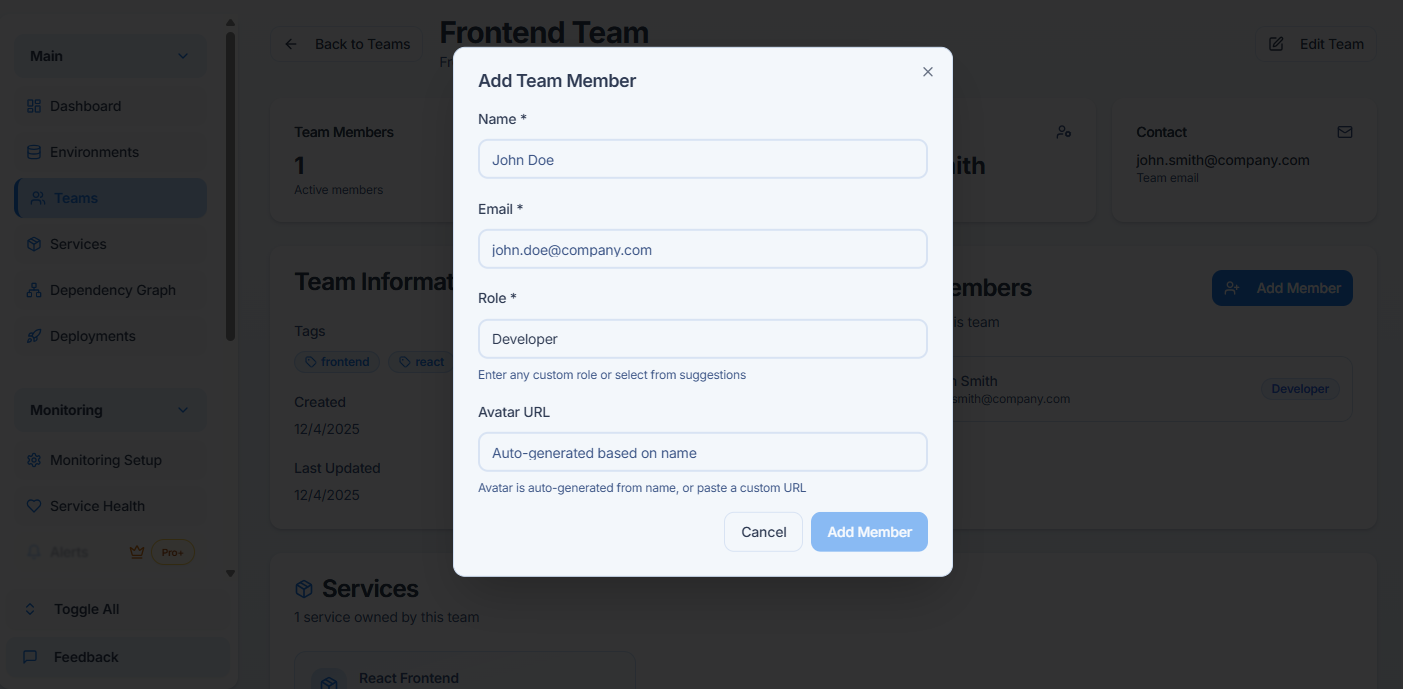
Step 4: Invite Team Members
- Go to Team Settings → Members
- Click Invite Member
- Enter email address
- Assign role (Admin, Developer, Viewer)
- Click Send Invite
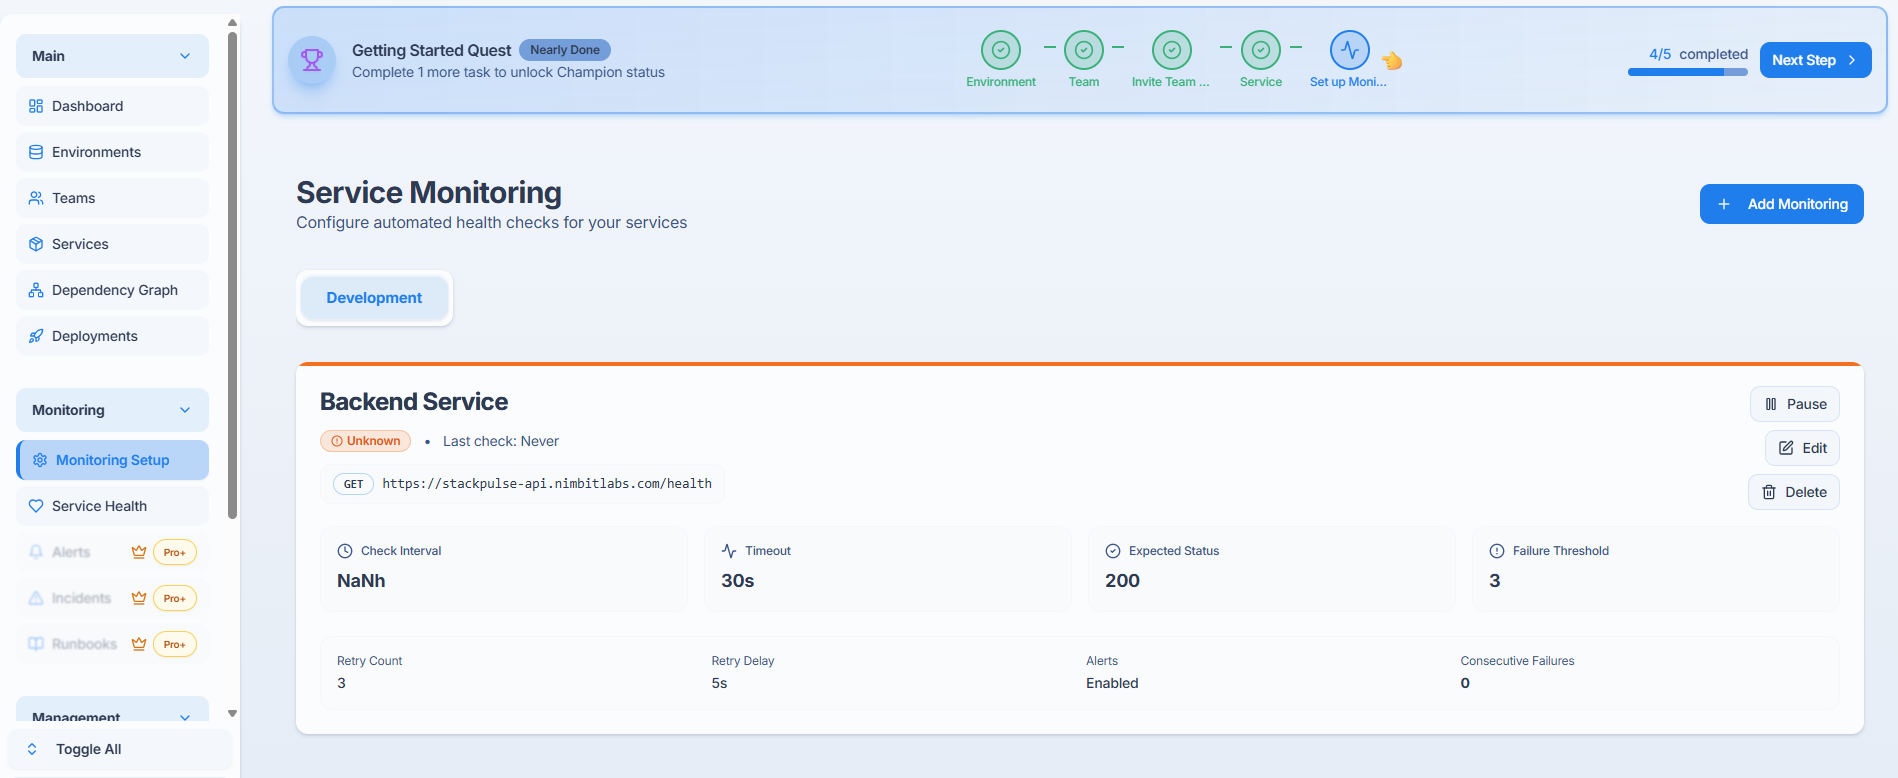
Step 5: Configure Monitoring
- Select your service from the Services list
- Click Configure Monitoring
- Set check interval (default: 5 minutes)
- Define health check criteria:
- Expected Status Code: 200
- Timeout: 30 seconds
- Click Save Configuration
Step 6: Verify Service Health
- Return to Services dashboard
- Wait 5 minutes for first health check
- Verify green status indicator
- Click service name to view detailed metrics